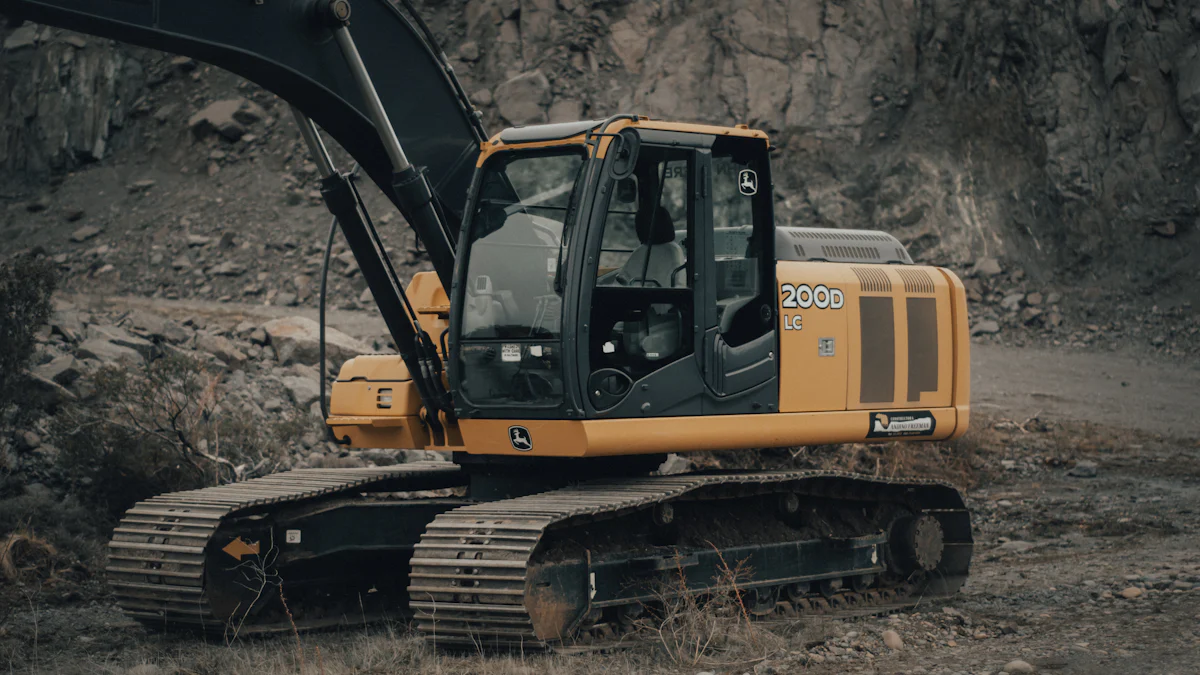
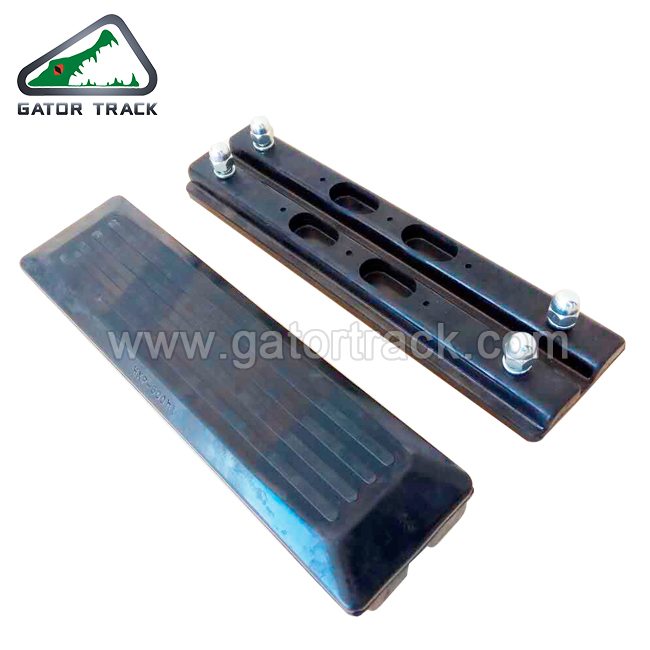
Bolt on rubber track pads are essential components designed to enhance the functionality of your machinery. These pads attach directly to the steel grouser shoes of excavators, providing better traction and protecting delicate surfaces like concrete or asphalt from damage. Proper installation ensures that your equipment operates safely and efficiently. It also prevents unnecessary wear on both the pads and the surfaces you work on. By installing them correctly, you can improve performance, extend the lifespan of your machinery, and maintain a professional finish on every project.
Key Takeaways
- 1.Proper installation of bolt on rubber track pads enhances machinery performance and protects surfaces from damage.
- 2.Gather essential tools like socket wrenches, torque wrenches, and impact wrenches to ensure a smooth installation process.
- 3.Prioritize safety by wearing protective gear and using lifting equipment to stabilize the machinery during installation.
- 4.Follow a step-by-step process for removing old components, aligning new pads, and securing them with the correct torque.
- 5.Regularly inspect and clean rubber track pads to extend their lifespan and maintain optimal performance.
- 6.Replace worn-out pads promptly to prevent damage to your machinery and ensure safe operation.
- 7.Test the machinery after installation to confirm proper functionality and alignment of the rubber track pads.
Tools and Equipment Needed

When installing bolt on rubber track pads, having the right tools and equipment ensures a smooth and efficient process. Proper preparation not only saves time but also helps you achieve a secure and durable installation.
Essential Tools for Installing Bolt On Rubber Track Pads
To begin, gather the essential tools required for the installation. These tools are fundamental for removing old components and attaching the new rubber track pads securely:
- (1)Socket Wrenches: Use these to loosen and tighten bolts during the installation process.
- (2)Torque Wrench: This tool ensures that bolts are tightened to the correct torque specifications, preventing over-tightening or under-tightening.
- (3)Impact Wrench: Speeds up the process of removing and securing bolts, especially when dealing with multiple fasteners.
- (4)Screwdrivers: Keep both flathead and Phillips screwdrivers handy for minor adjustments or removing small components.
- (5)Measuring Tape: Use this to confirm proper alignment and spacing of the track pads.
These tools form the foundation of your installation kit. Without them, you may face challenges in achieving a proper fit and alignment.
Additional Equipment for Safety and Efficiency
Safety and efficiency should always be a priority during any installation process. Equip yourself with the following items to ensure a safe working environment and improve productivity:
- (1)Protective Gear: Wear gloves, safety goggles, and steel-toed boots to protect yourself from potential injuries.
- (2)Hydraulic Jack or Lifting Equipment: Use these to lift and stabilize the machinery, making it easier to access the tracks.
- (3)Work Lights: Proper lighting is crucial, especially if you’re working in dimly lit areas or during late hours.
- (4)Thread Locker: Apply this to bolts to prevent them from loosening due to vibrations during operation.
- (5)Cleaning Supplies: Keep a wire brush and cleaning solution to remove dirt, grease, or debris from the steel grouser shoes before attaching the pads.
By using these additional tools and equipment, you can enhance both the safety and efficiency of the installation process. This preparation ensures that your bolt on rubber track pads are installed correctly and perform optimally.
Preparation Steps
Preparing the Machinery for Installation
Before you begin installing bolt on rubber track pads, ensure your machinery is ready for the process. Start by parking the equipment on a flat and stable surface. This prevents any unexpected movement during the installation. Engage the parking brake and turn off the engine to eliminate potential hazards. If your machine has hydraulic attachments, lower them to the ground for added stability.
Next, clean the steel grouser shoes thoroughly. Use a wire brush or cleaning solution to remove dirt, grease, and debris. A clean surface ensures the rubber track pads adhere properly and stay secure during operation. Inspect the grouser shoes for any damage or wear. Replace any compromised components before proceeding with the installation.
Finally, gather all the tools and equipment you need. Having everything within reach saves time and keeps the process efficient. Double-check that your tools, such as wrenches and thread locker, are in good condition and ready for use.
Ensuring Safety During the Installation Process
Safety should always be your top priority. Begin by wearing the appropriate protective gear. Gloves protect your hands from sharp edges, while safety goggles shield your eyes from debris. Steel-toed boots provide additional protection for your feet in case of dropped tools or components.
Use a hydraulic jack or lifting equipment to raise the machinery if necessary. Ensure the equipment is stable and secure before working underneath it. Never rely solely on the jack; always use jack stands or blocks to support the weight of the machine.
Keep your workspace well-lit. Proper lighting helps you see clearly and reduces the risk of errors. If you’re working outdoors, consider using portable work lights to illuminate the area.
Stay alert and avoid distractions. Focus on each step of the process to prevent mistakes. If you’re working with a team, communicate clearly to ensure everyone understands their role. Following these safety measures minimizes risks and creates a safer environment for the installation.
Post-Installation Checks
Verifying the Installation of Bolt On Rubber Track Pads
After completing the installation, you must verify that everything is secure and properly aligned. Begin by visually inspecting each excavator steel track pads. Check that all bolts are tightened to the correct torque specifications. Loose bolts can lead to operational issues or even damage the machinery. Use your torque wrench again if necessary to confirm the tightness of each bolt.
Examine the alignment of the track pads along the steel grouser shoes. Misaligned pads can cause uneven wear or reduce the machine’s performance. Ensure that the pads are evenly spaced and centered. If you notice any irregularities, adjust the alignment immediately before proceeding.
Inspect the surface of the rubber track pads for any visible defects or damage that may have occurred during installation. Even minor imperfections can affect their performance. Address any issues you find to ensure the pads function as intended. A thorough verification process guarantees that your bolt on rubber pads for excavators are ready for use.
Testing the Machinery for Proper Functionality
Once you’ve verified the installation, test the machinery to ensure it operates correctly. Start the engine and let it idle for a few minutes. Observe the tracks as they move. Look for any unusual vibrations, noises, or irregular movements. These could indicate improper installation or alignment issues.
Drive the machinery slowly on a flat surface. Pay attention to how it handles. The movement should feel smooth and stable. If you notice any resistance or instability, stop immediately and recheck the installation. Testing the equipment under light conditions helps identify potential problems without causing significant damage.
After the initial test, operate the machinery on different surfaces, such as concrete or gravel. This allows you to evaluate the performance of the rubber track pads in real-world conditions. Ensure that the pads provide adequate traction and protect the surfaces from damage. A successful test confirms that the installation was done correctly and that the machinery is ready for regular use.
Post time: Dec-16-2024

